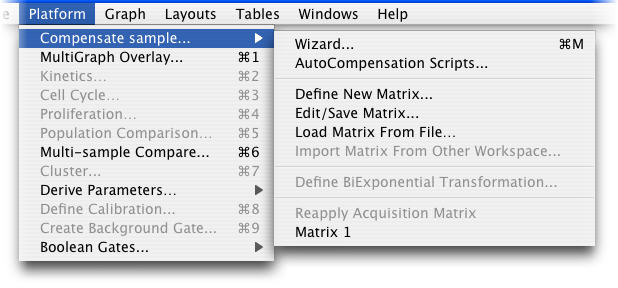
Compensation Menus
The compensation menus are a sub-menu below the Platform menu.

Wizard...
Brings up the Compensation Wizard Window to begin the process of defining a new compensation matrix. To use this menu item, select control tubes or drag them from the workspace window. Give your Matrix a name.
AutoCompensation Scripts...
This tool helps you define a script that will automatically select a set of compensation controls from new data.
Define New Matrix ...
This is the familiar Compensation Interface window.
Edit/Save Matrix...
You can edit the compensation matrix and you can save the matrix to be used in another workspace.
Load Matrix from File...
Asks you to open up a previously-created and saved compensation matrix file and load it into the workspace. To save a matrix file from another workspace, use the Edit/Save matrix option.
Import Matrix from Other Workspace...
Lets you grab a matrix that is resident in another Workspace open on your desktop.
�
Define BiExponential Transformation...
If a lot of cells are squished against the axis after compensation, you can change the display. This allows a more intuitive display of the data by changing the scale of the graphs using Bi-Exponential scaling.
�
Acquisition Matrix/Reapply Acquisition Matrix
If you compensated your data during acquisition on a new generation of instruments (DiVa, FC500 or the CyAn), the acquisition matrix will be available for editing. If you have applied another matrix, you can return to the Acquisition Matrix with this command.
Apply Your Matrix
If you have created or loaded matrices, the names will appear below Acquisition Matrix (like "Matrix1") on the above menu. Click on a name to apply the matrix to selected tubes.Go back to the overview of compensation.
