Printing
Header and footer information printed at the top of each batch report page can be added or edited using the Edit Printed Page Layout Information dialog box. When creating a Preview report and then printing or when Printing Directly, the header and footer options can be edited directly as shown below. For other types of reports such as a New Layout, the header and footer information can be edited from the Preferences dialog box.
Create a Preview report and print it.
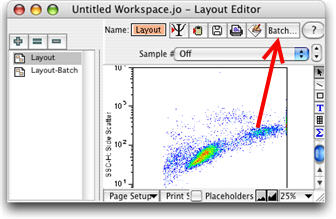
1) In the Layout Editor click the Batch button.
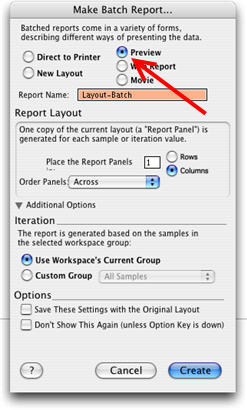
2) In the batch report layout dialog, click the Preview button.
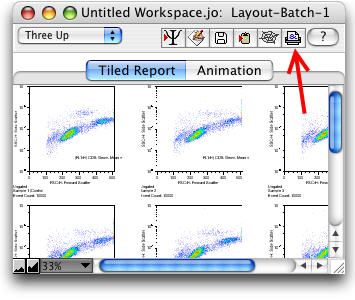
3) Once the batch preview is complete, click the Print icon.
4) In the Layout Options dialog click the Edit button.
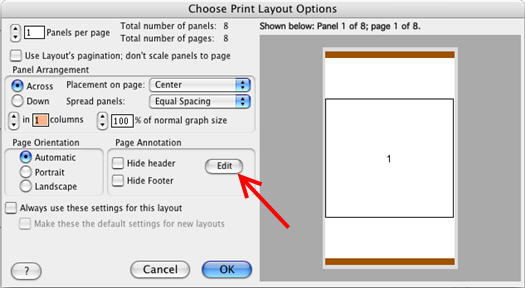
Clicking the Edit button brings up the following dialog box where the information shown at the top and bottom of each printed page can be edited. Type in the box any text that you would like printed at the top or bottom of each page in the report. In order to incorporate information from the workspace into the header or footer of the report, use the special purpose strings. The options are listed out in the center of the dialog box below and begin with a # sign. Special purpose strings information (such as the group name) will be interpreted from the workspace at the time of printing.

Alternatively, choose Direct to Printer in step 2 and click Customize under the Geometry area of the Make Batch Report dialog.
